Early Photography
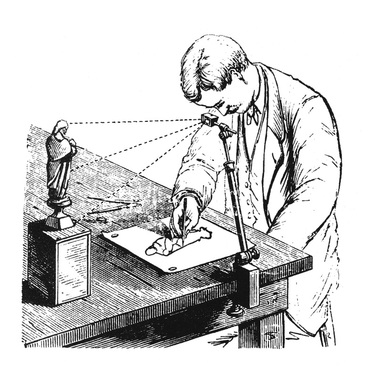
Camera Lucida
|
|
Oldest Family Photograph
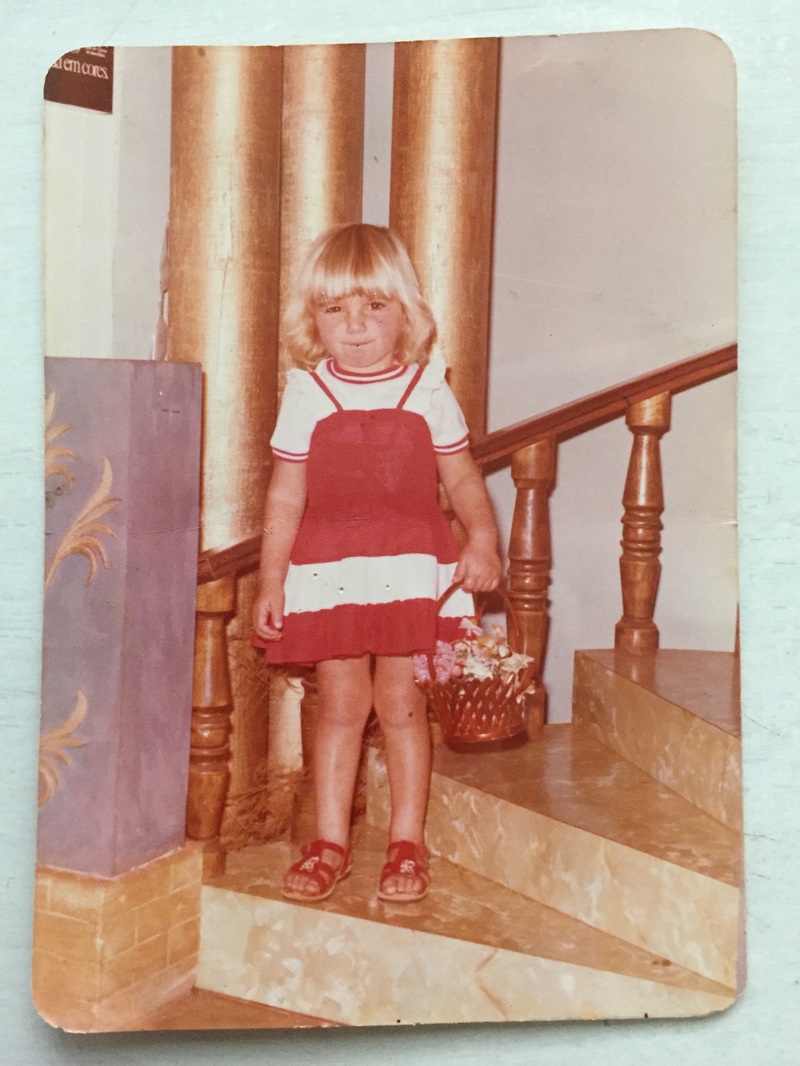
Oldest Photo
This is the oldest photo from my family. It was taken in Brazil in 1979. The little girl in the image is my mum when she was five years old. This photo was taken in a proper studio. The model is positioned in the center of image while standing on the stairs. the model is wearing a red dress and holding a basket full of flowers. The photo is taken at eye level. the condition of which the photo is kept is very good, however there are a few holes and starches. one of the difference is that the photo was not Photoshop or had a filter put on it.
|
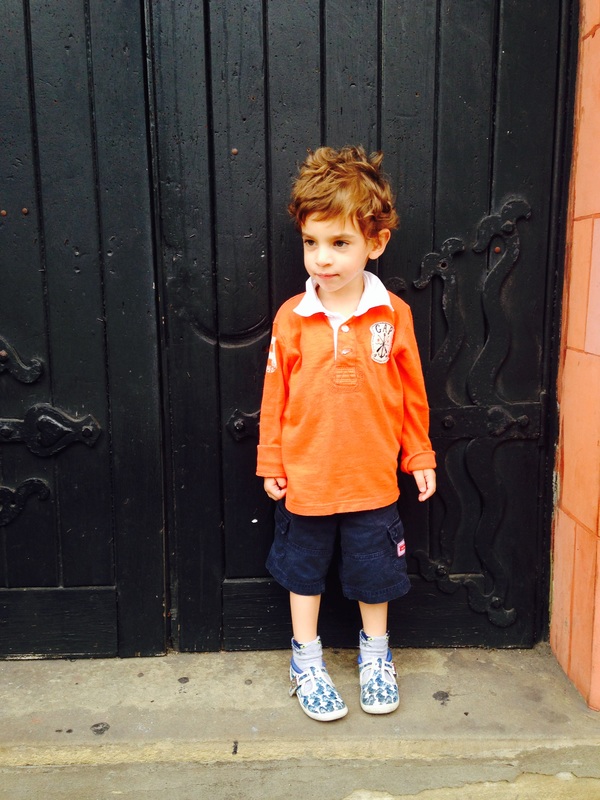
Newest Photo
This is one of the most recent images that i have it of my three year old brother. He is position on a step of a black door. he is in the middle of the photo that was taken at eye level. One difference between this photo and the other was that this one was taken by a phone. whereas the other one was all professional and done with in a studio. with new technologies good quality photo are easy to take most phones have a camera or even professional camera are not that expensive to buy and take photos. the model is wearing more casual clothes and is generally more relaxed.
|
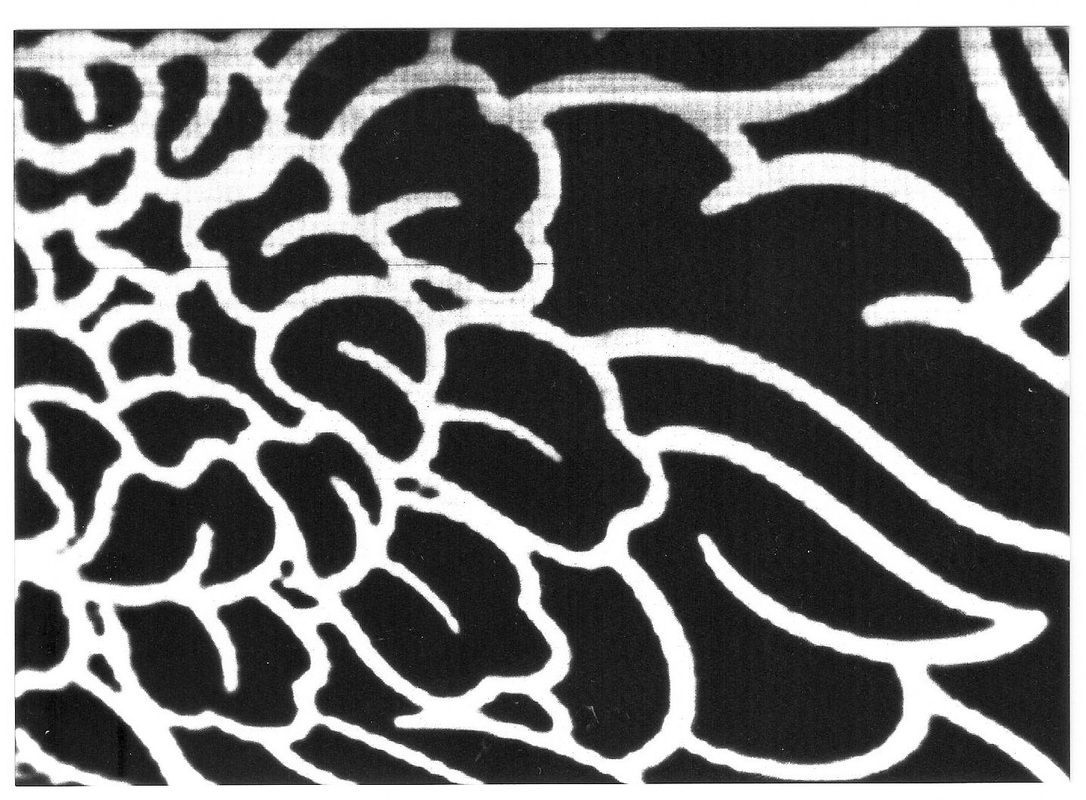
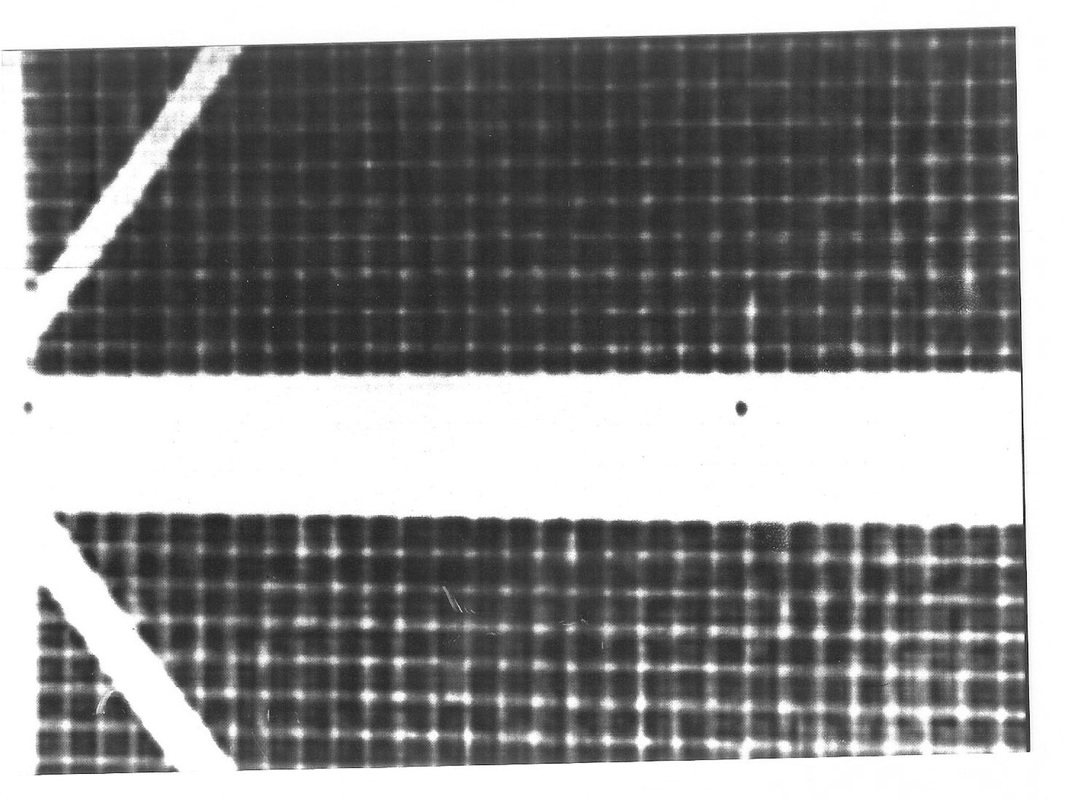
Pattern And Structure
contact sheet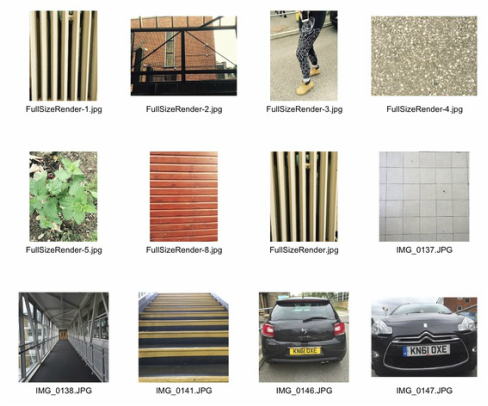
Acetate |
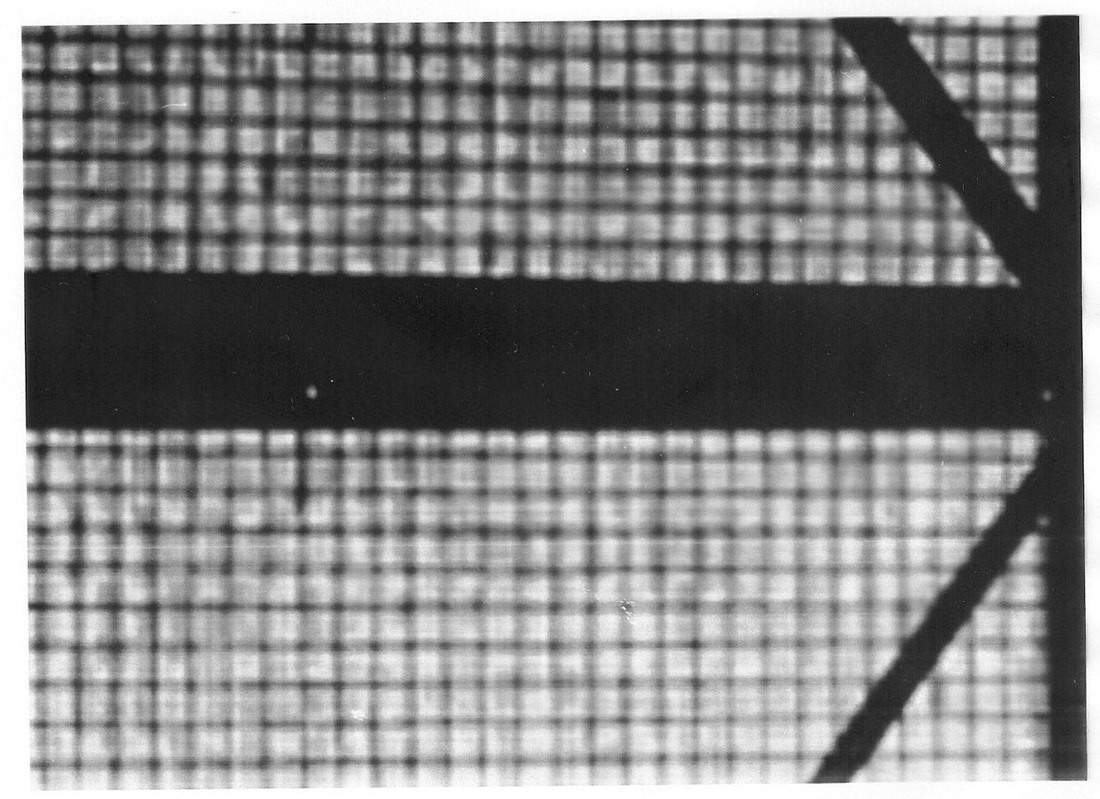
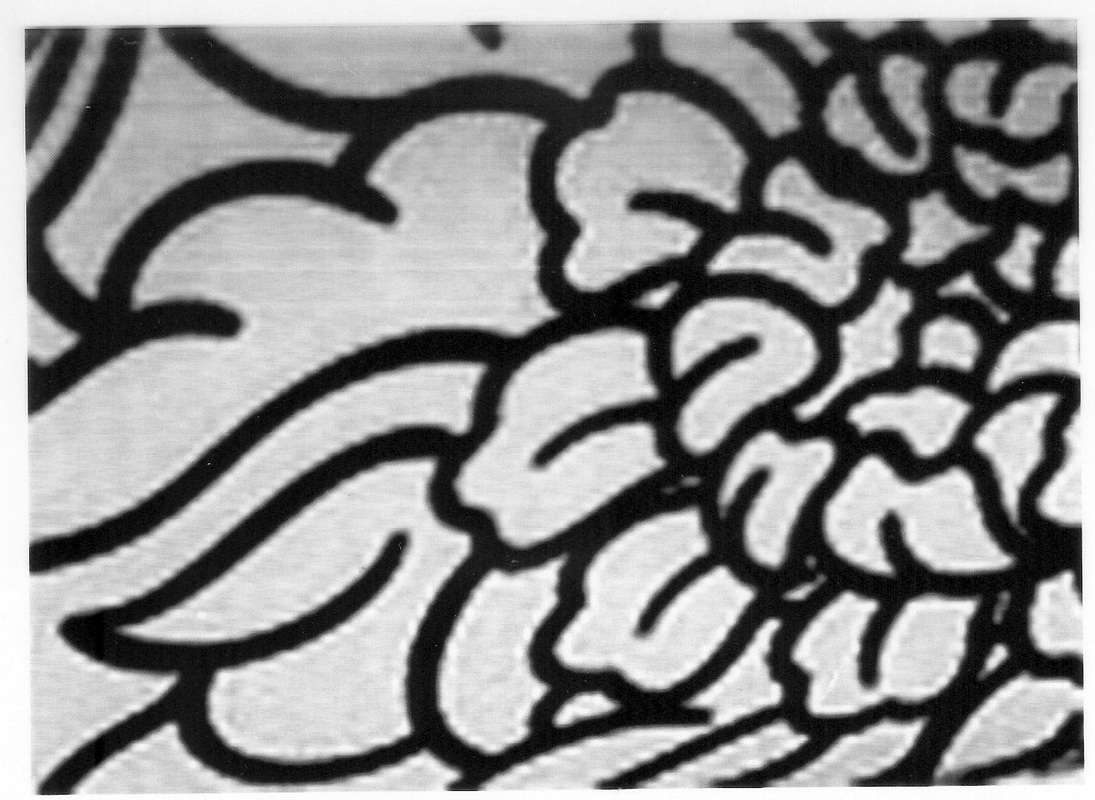
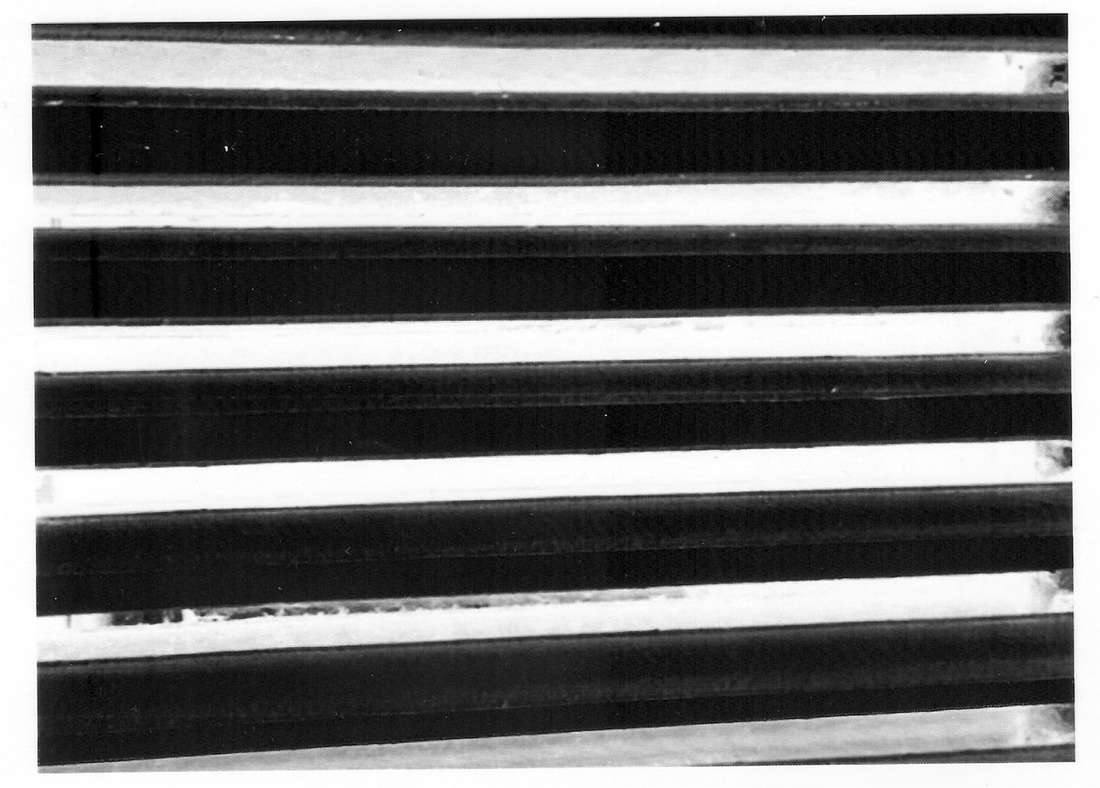
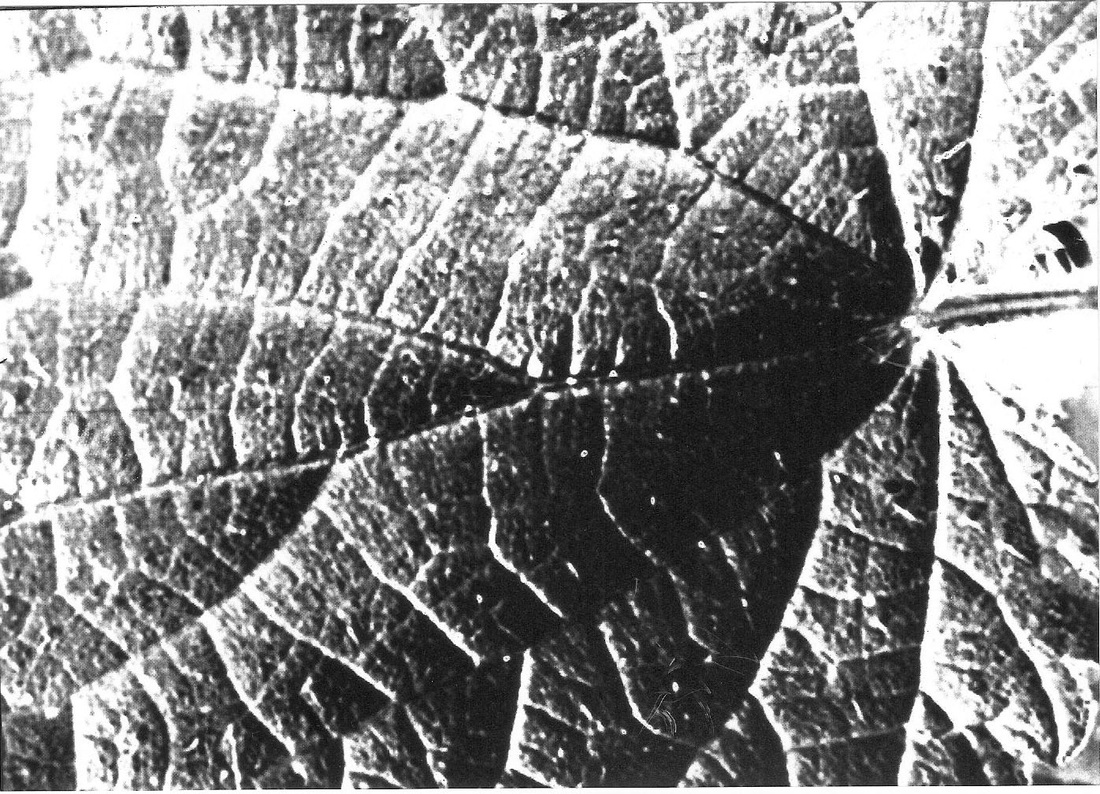
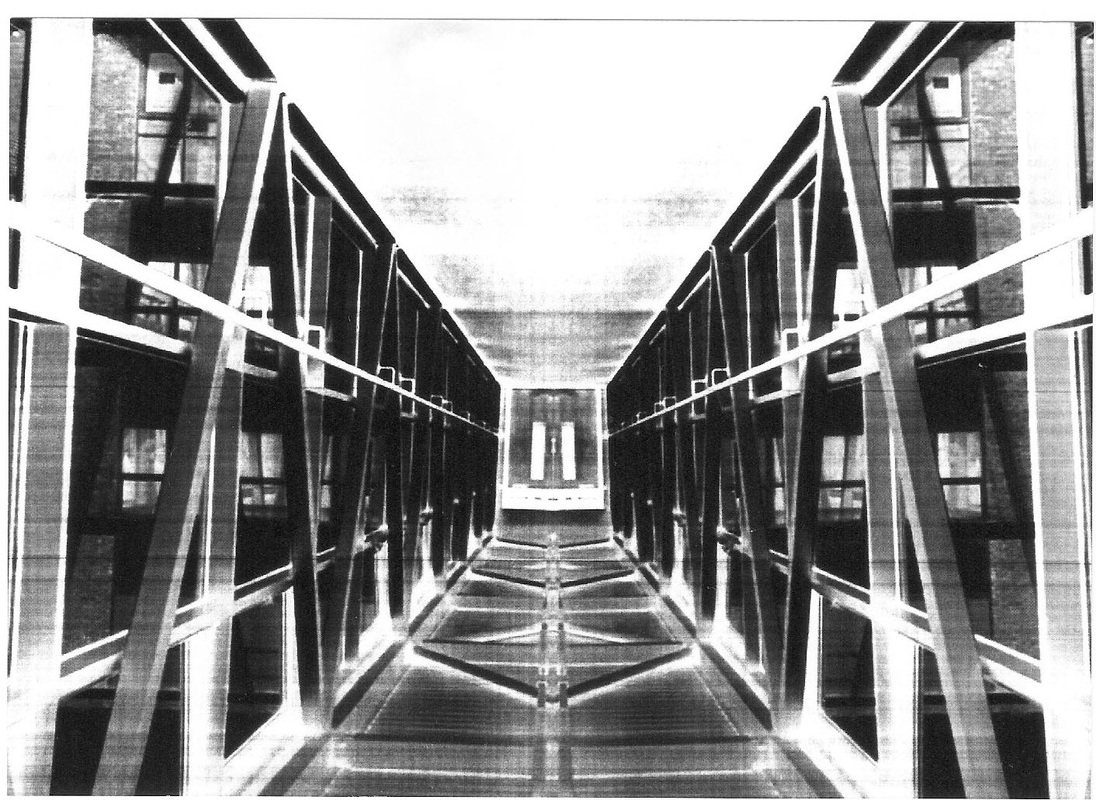
Final resultsFor this set task we were asked to take pictures of things that had a interesting pattern or strutcure around school. Out of all the photos we were asked to edit five of them. i used photoshop i change the size to 20cm x 15 cm x 180 resolution. I then remove the colour and alter contrast. on some of the images i invert the images to give a negative result. my most successful was the foral pattern. this was because i used the right expose and because i inverted it i was able to make it look realistic. How the process work after we took the images we print then on acetate. i then went to the dark room. I put photosensitive paper under the acetate and turn on the enlarger for 6 seconds. after i out the paper into the first chemical called the developer for the 2 minutes,then moved on to the stop for 1 minutes and finally the fix for 3 minutes. to clean the chemicals of the paper i had to put it in water for 5 to 10 minutes. after i left it to dry over night te images were finally finished. Testers:
|

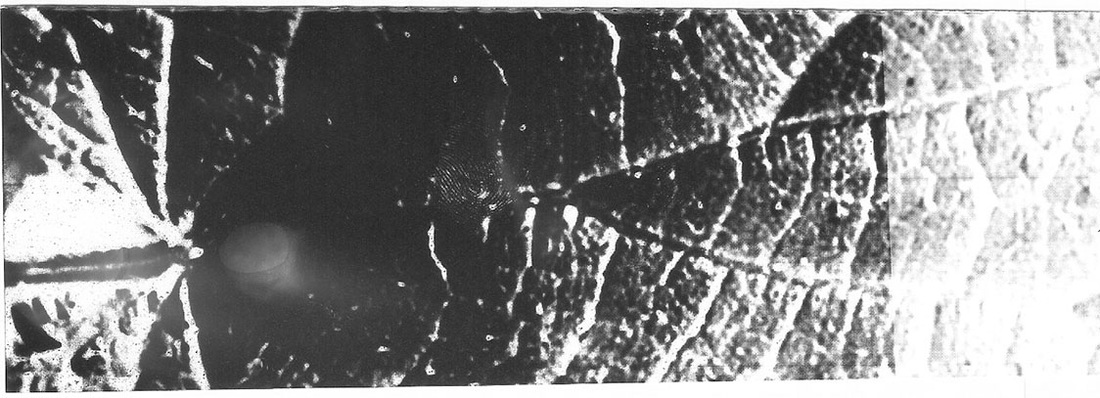
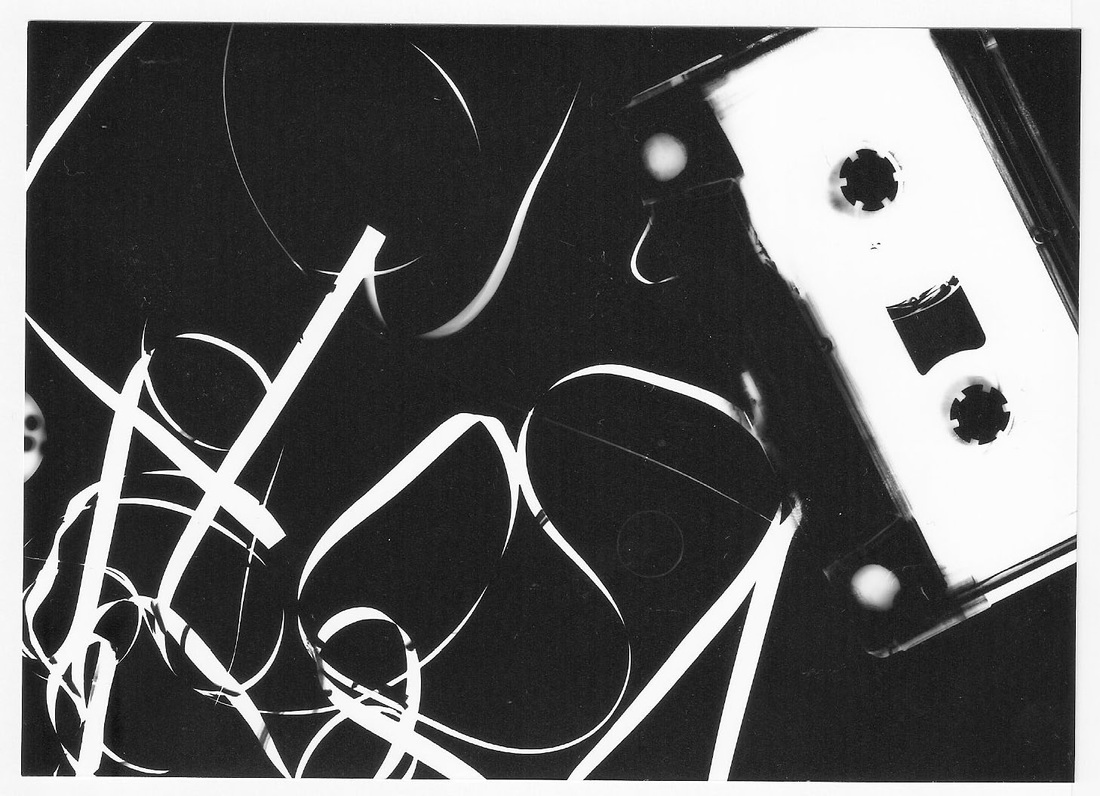
Photograms
|
|
Definition: A picture produced with photographic materials, such as light-sensitive paper, but without a camera.
I started off by collecting objects that are transparent, translucent and with an interesting shape. I collected tape, a light bulb, solid letters etc. Process I was given a 5' x 4' light-sensitive paper in the dark room. I then went to an enlarger and placed the objects on top of the paper. I first experimented with different exposure times so I could get the best possible outcome. I found out that different objects have different exposure time this made it hard to put come objects together. To improve this I paired up objects that had the same or similar exposure time. |


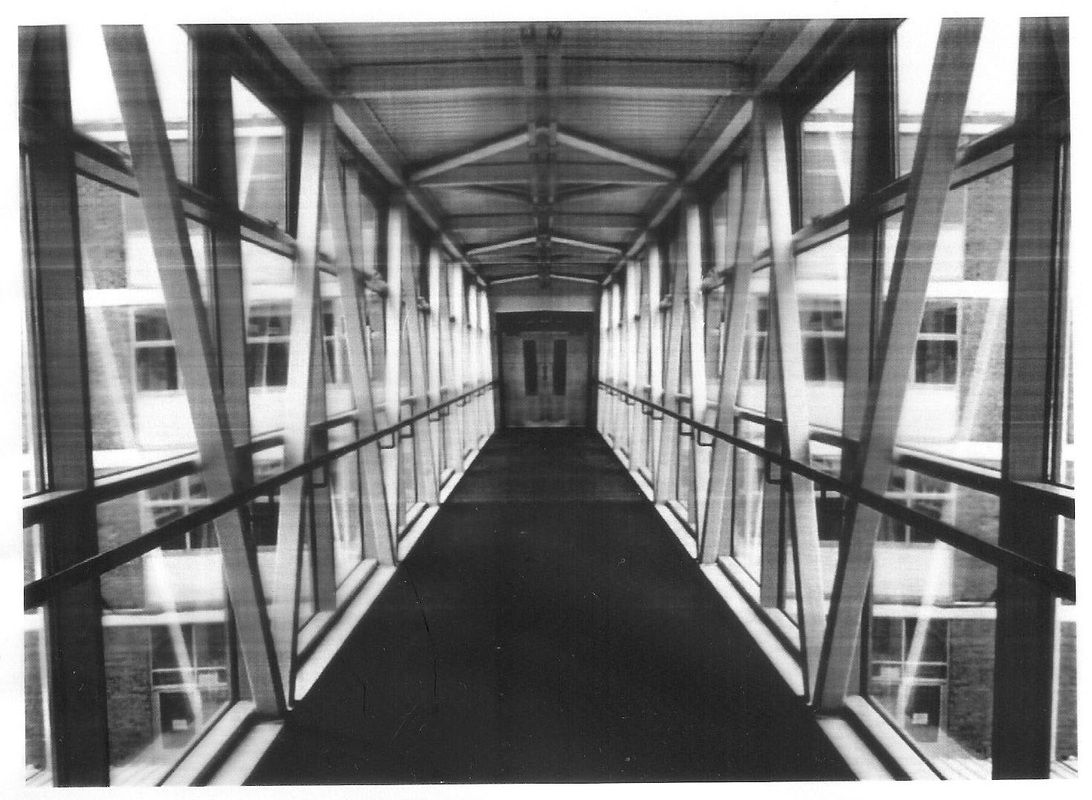
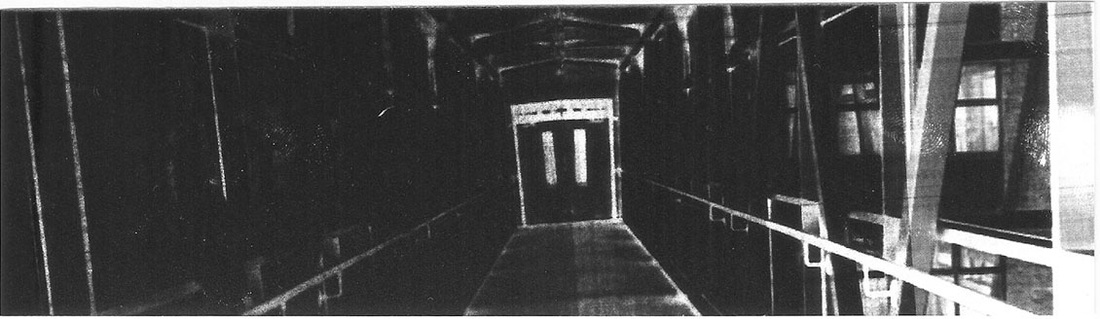
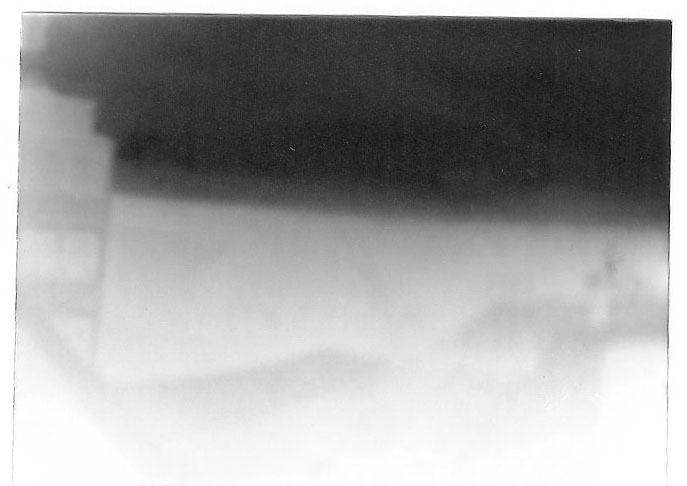
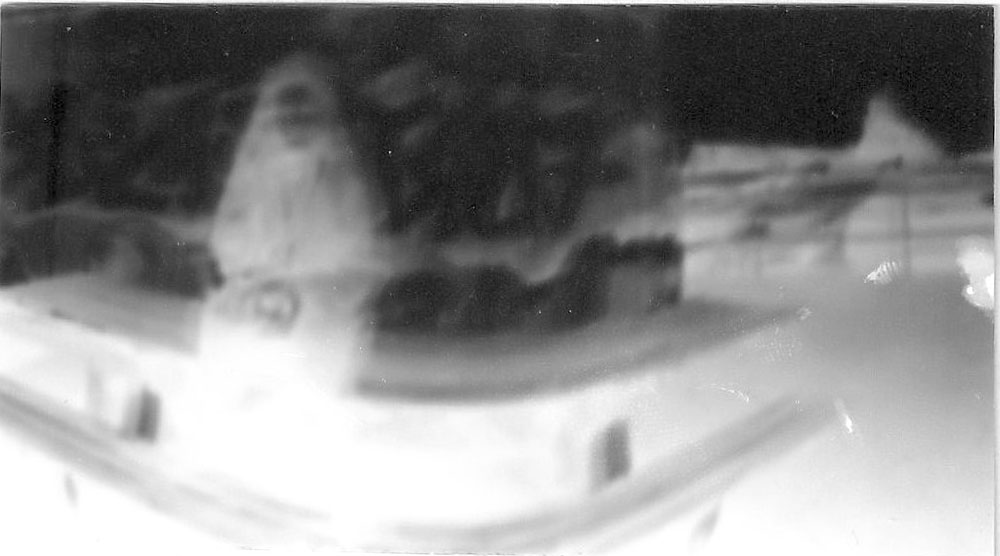
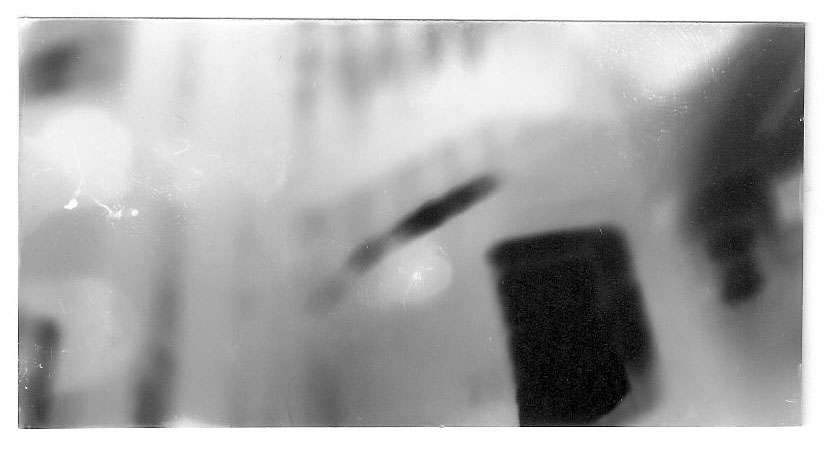
Pinhole camera
Final ResultsMy Pinhole
|
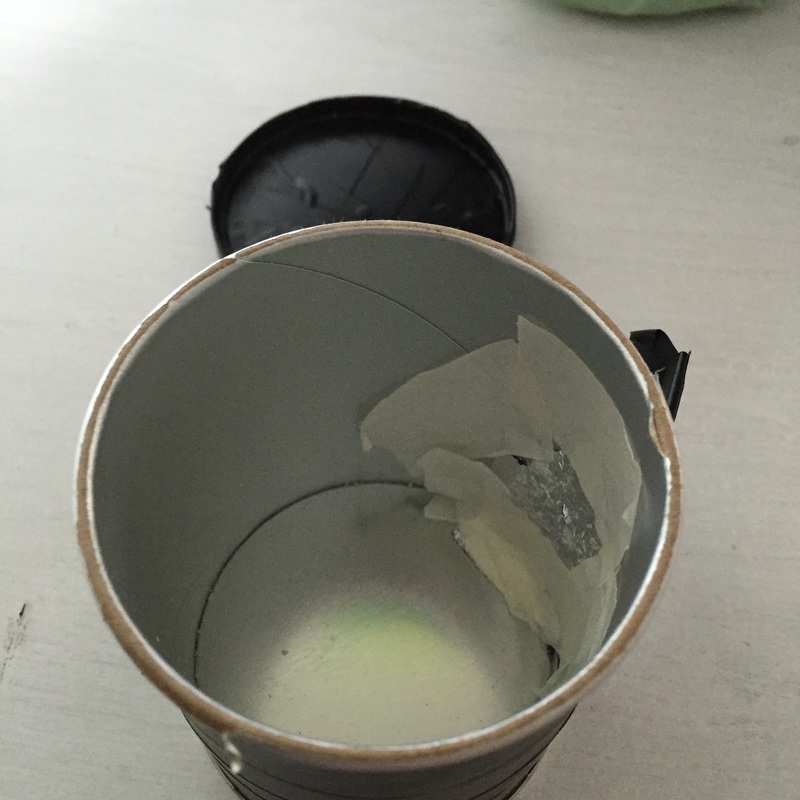
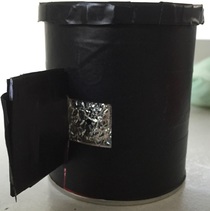
Making:
Things I need: A Pringles can, roll of tin foil and black gaffer tape. the picture on the right are the pinhole camera I made. Using a knife I cut out a square shape of the side of my can. after I put tin foil around on the inside of the cut square. Using a tip of a pen I poked a hole through the tin foil. Finally I warped the whole can in gaffer tape to make sure no light would get in. The pinhole camera is one of the most simplest camera in photography it is based on the camera obscura. Like the camera obscura the pinhole camera only has a small hole to let the light in. to capture the image I went in the dark and put light sensitive paper on the opposite side to the tin foil with the hole in. we were asked to capture the sets of images 1. A view from a window looking out 2. A corner of a building 3. A picture of a person. Difficulties:
|
Film
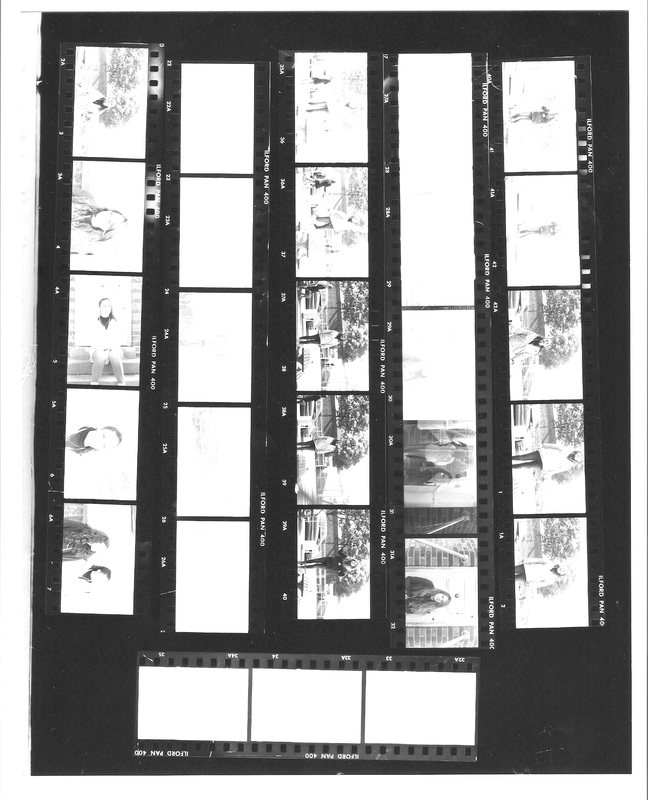
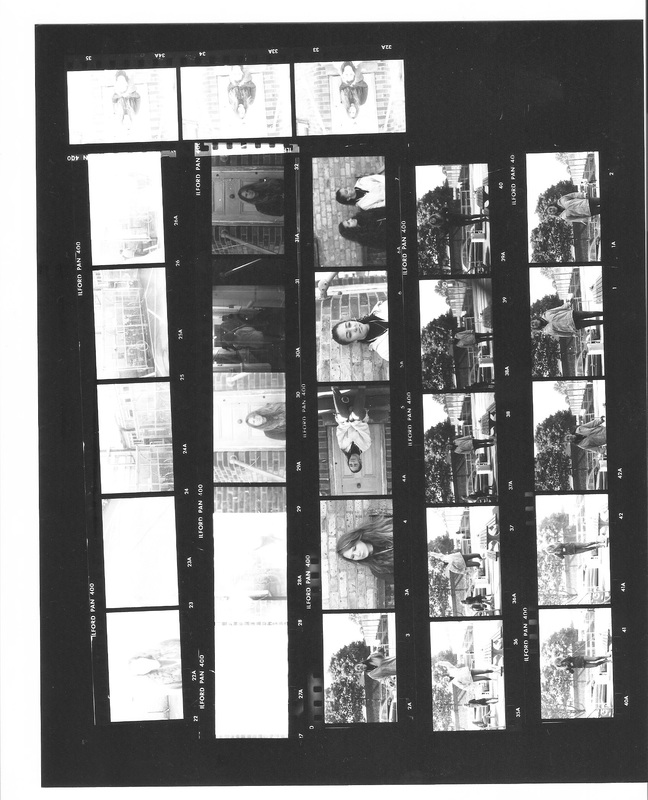
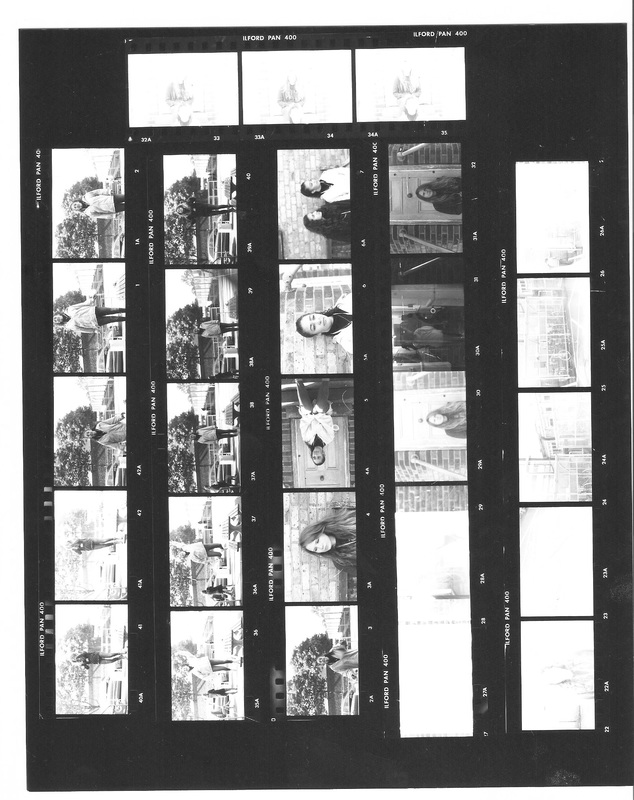
Contact SheetFilm Sheet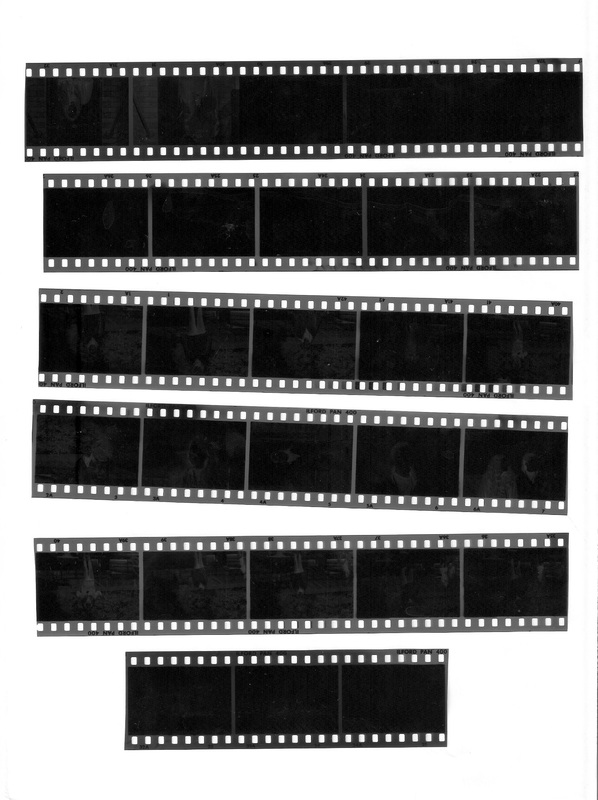
|
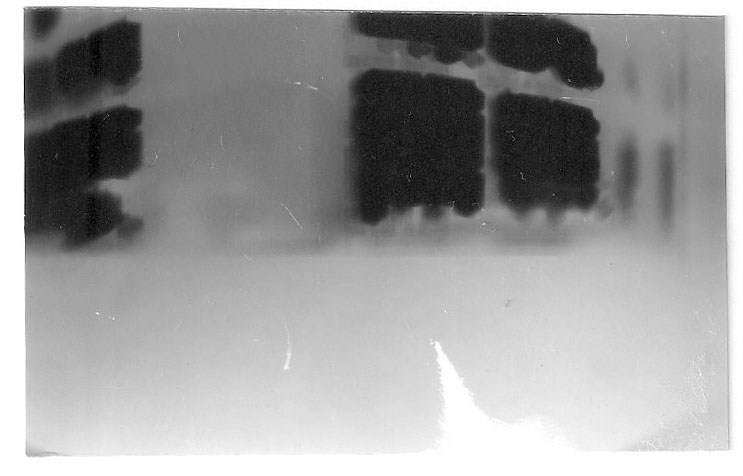
Tester
Here is the first tester I did. I put the image on the enlarger so it projects the image into the photographic paper. i then set the timer of the exposure to be every 2 seconds. On the image there are different exposure times. this is possible as i cover parts of the image with black cardboard and each time i exposure the image i move the cardboard so it covers less of the print.
After the first tester I did I can see what exposure time is the best time for the print. I then expose the whole paper to the same exposure. with this tester I can see whether the whole strip that I choose to expose works.
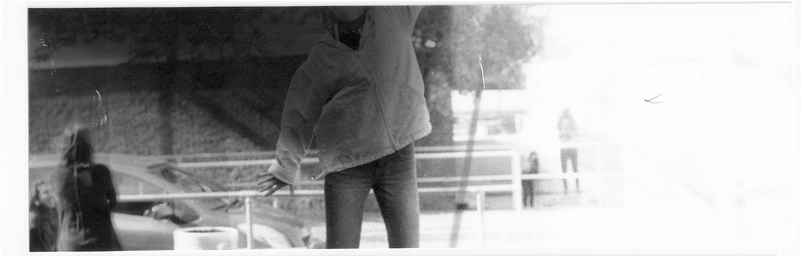
Here are the first full prints that I created. They were both good but needed to be a bit dark. This is because the model came out fine but the background needed more time to become sharper.
These are my final prints. they both have the right expose time. if i had left them longer the model would have gone darker therefore not making the image clean. I really like the fact that in the middle of the image it is very clear and in focus but at the corners of the image its starts to fade out.
|

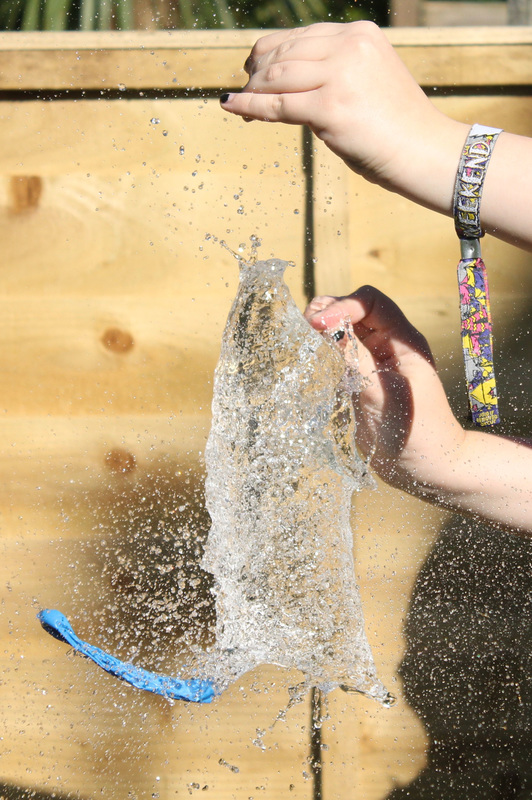
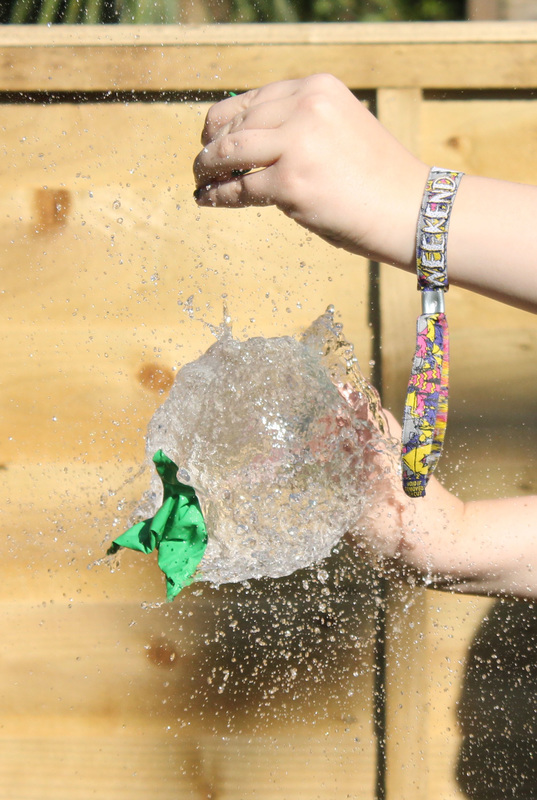
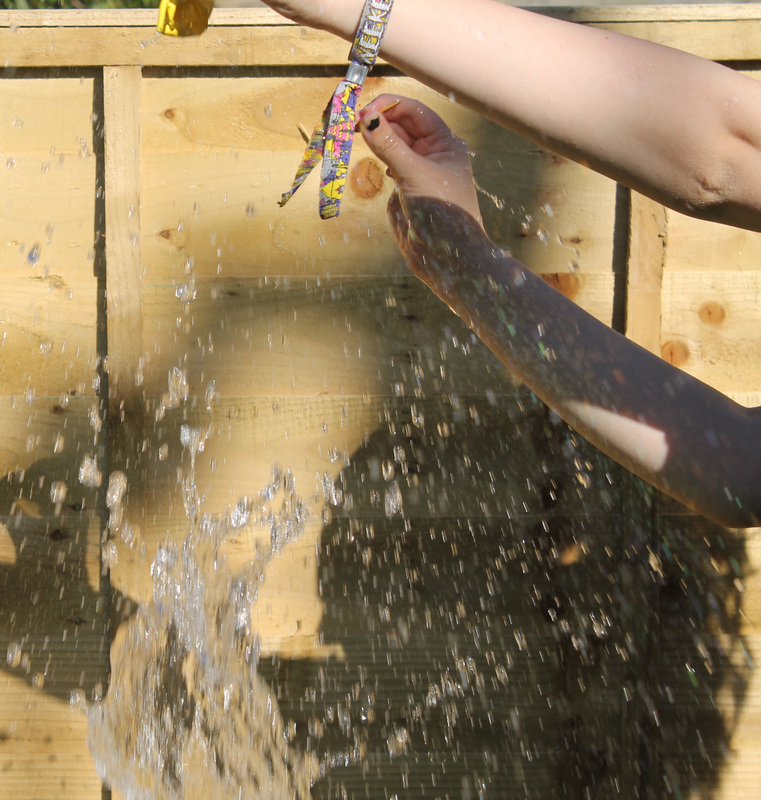
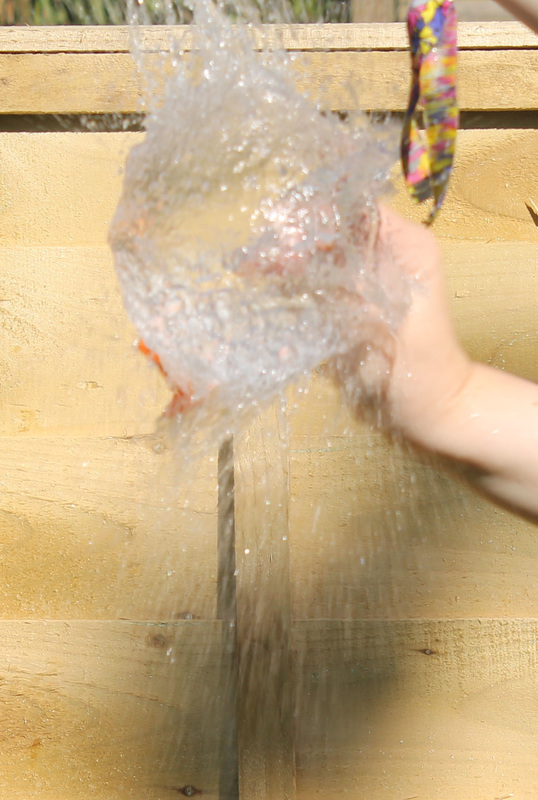
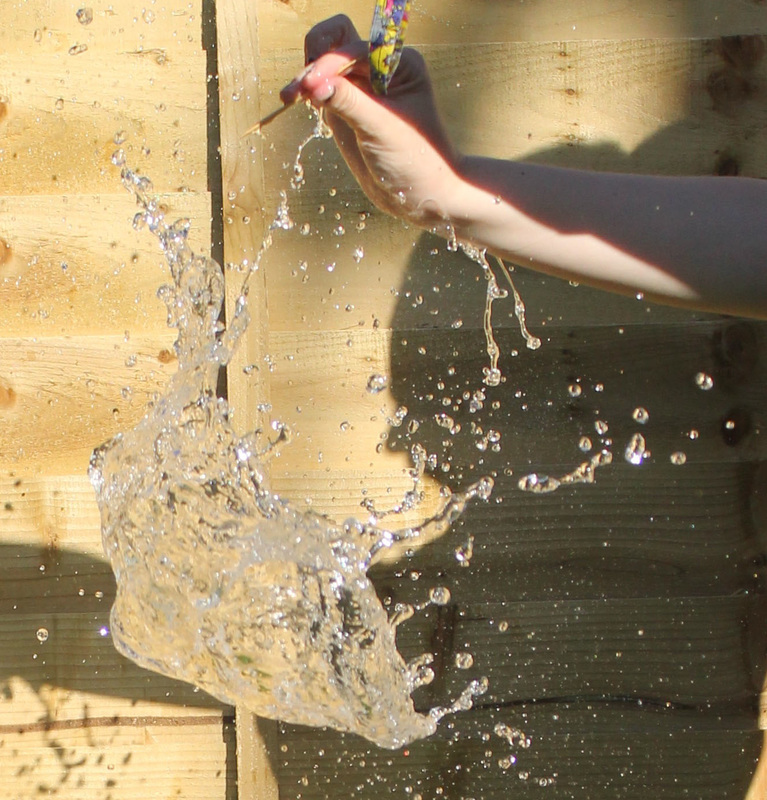
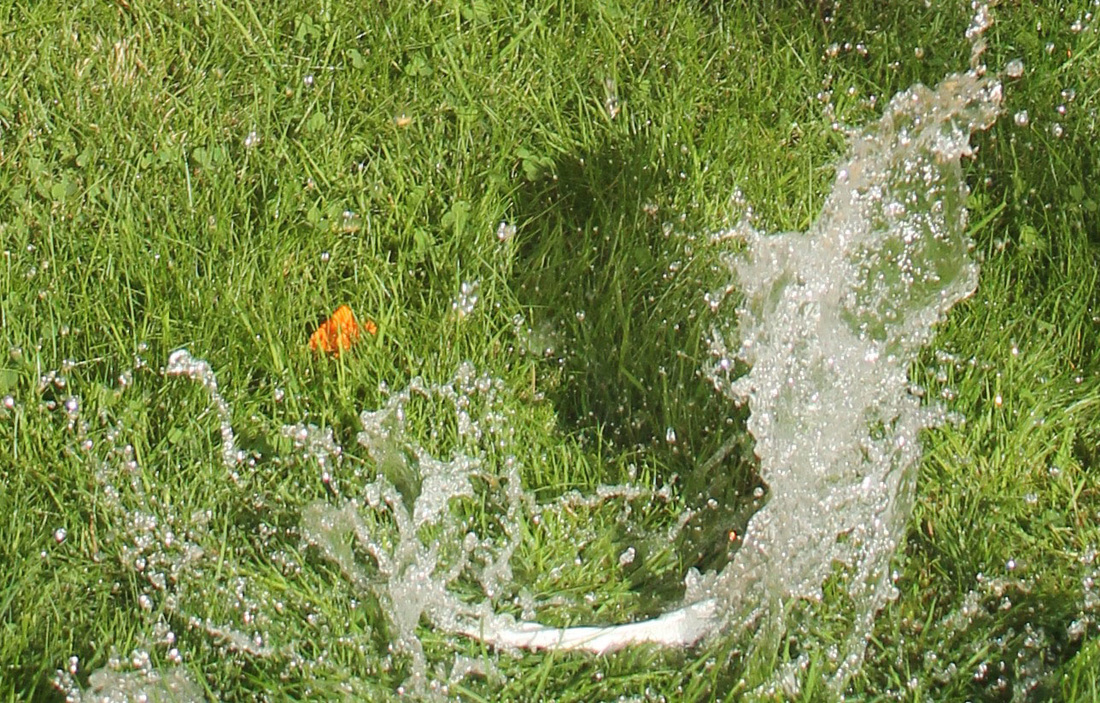
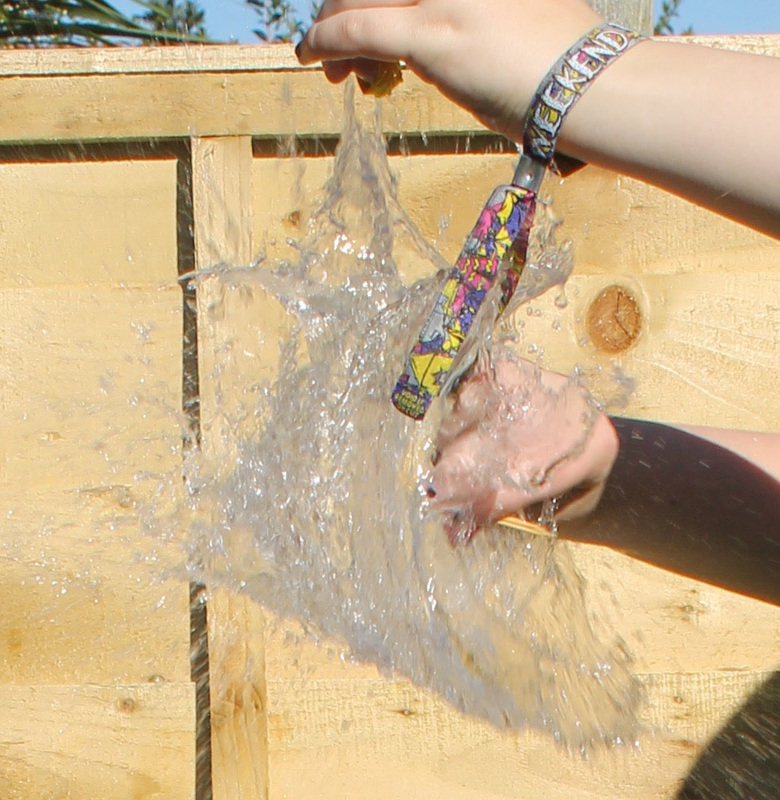
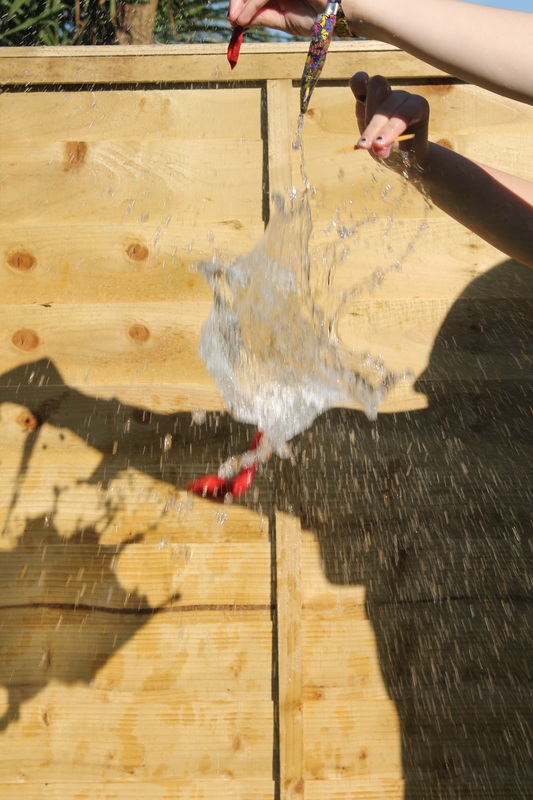
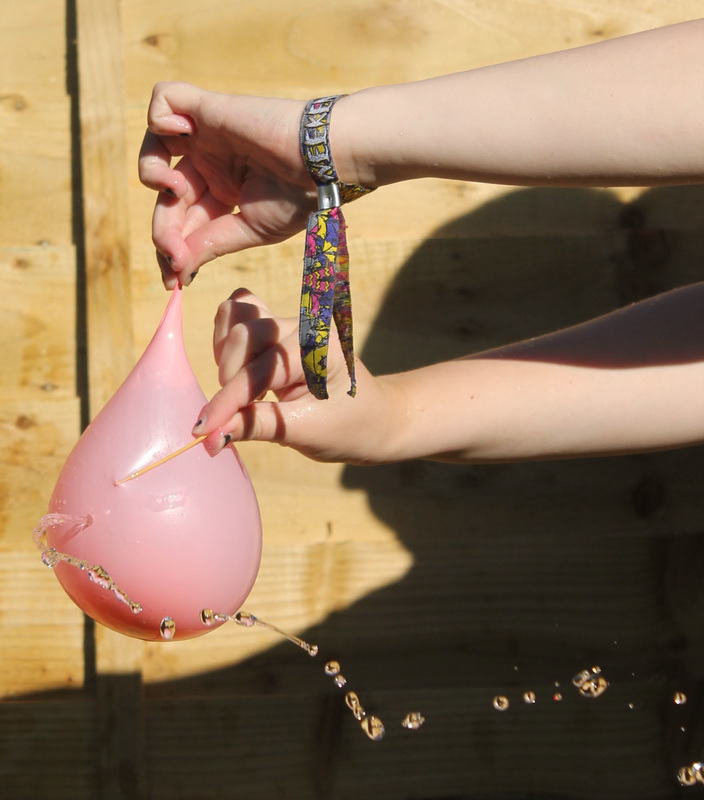
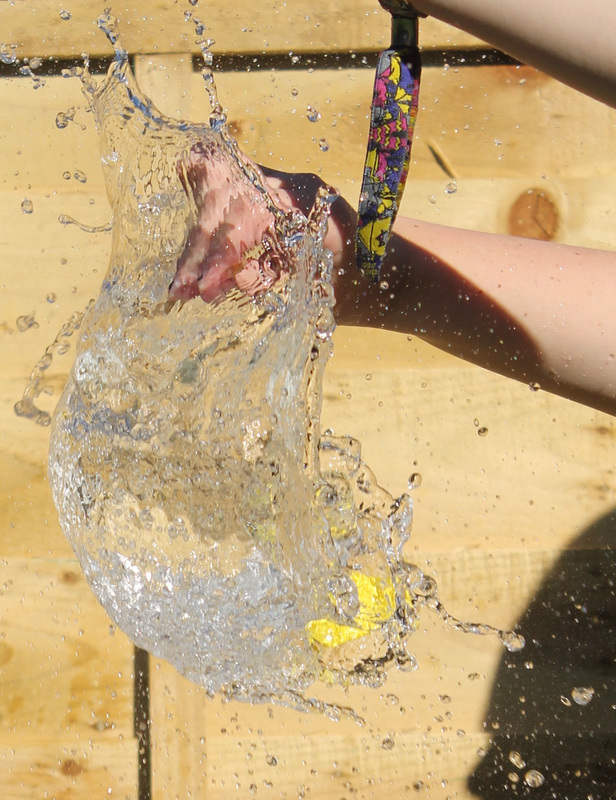
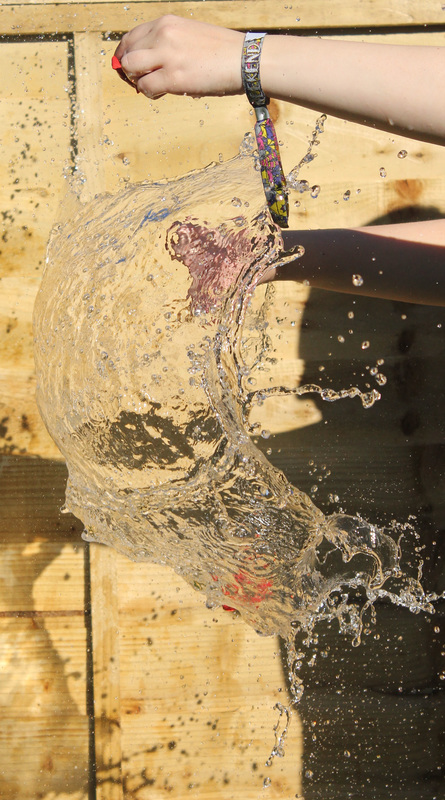
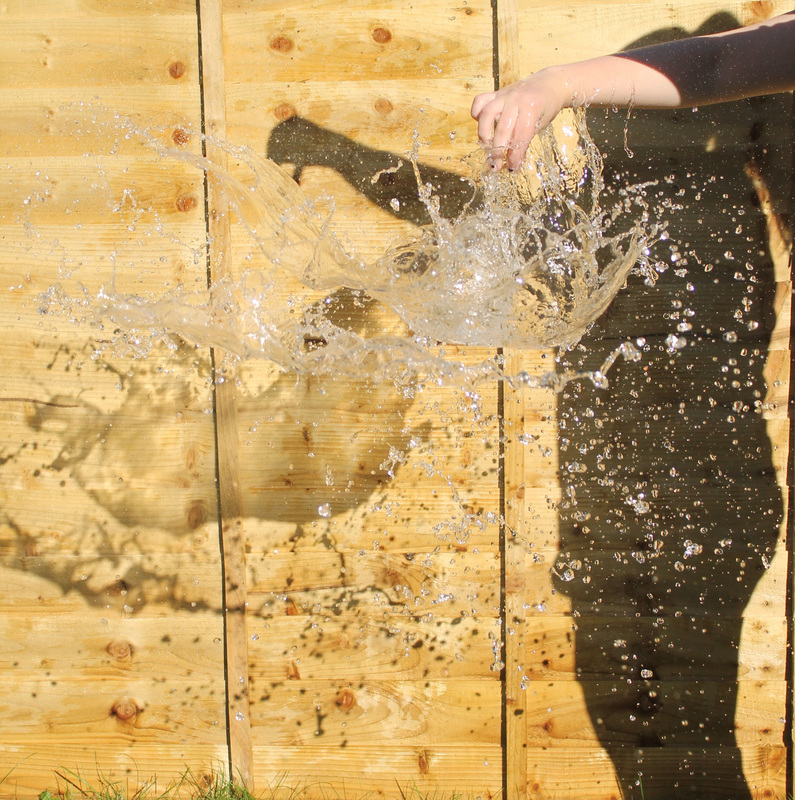
Shutter Speed: Water Balloons
|
|
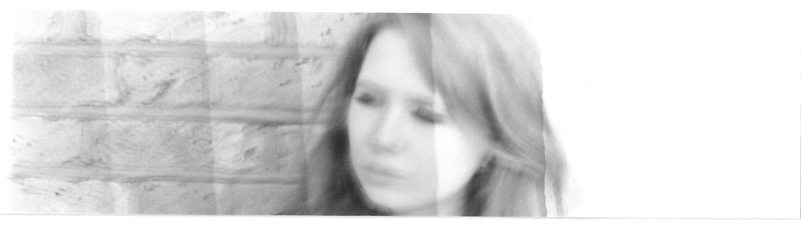
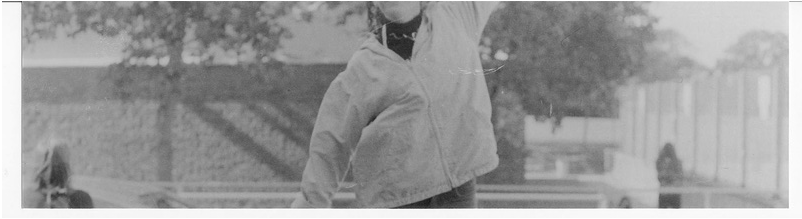
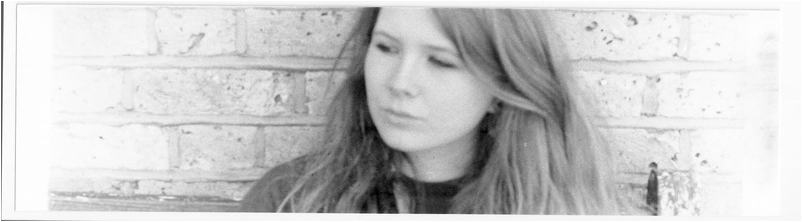
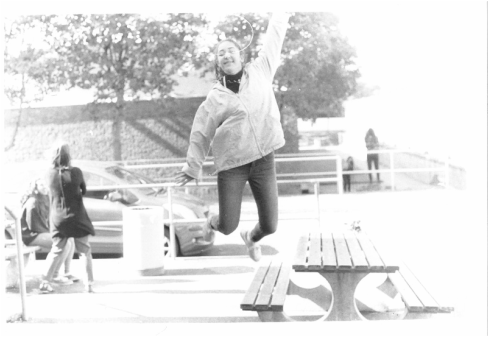
Shutter speed is the length of time that the camera is exposed to light. It is measured in fractions of seconds. if i wanted to capture movement i would use a fast shutter speed, so 1/250 and faster, however it depends on the object. if i wanted to create a blurry image i would use a slow shutter speed like 1/60 slower. When using a slow shutter speed I would have to use tripod so the background of the image would be still and sharp so just the object moving would be blurry.
In the water balloon set work. I went out to the garden to take photos. It was a bright day so when I used a slow shutter speed the photo would become too bright and you couldn't see the water falling. I used a tripod to steady the camera so none of the images would come out blurry or slanted. i used a range of shutter speed in order to find the best image. for me the best image would be the one that you can see the balloon had just pop and the water is still in the shape of the balloon. I also used two types of balloons to see if they made a difference in the way the water fell. I used a round and long straight balloon. the straight balloon would just fall straight down don't producing any water droplets whereas the round balloon would pop and then diffuse, so it would not keep in shape, |